# Exercise 1 — Image Composition
Demoing
For this exercise, you are required to demonstrate your work by the end of the Lab class. Failure to present a demo will result in an automatic score of zero.
# Introduction
This exercise provides practical experience with advanced masking techniques in Photoshop. You will learn how to non-destructively edit images by removing and replacing backgrounds, and then blend multiple images to create a cohesive and visually appealing composition.
# Objectives
- Remove the background of an image using selection and masking tools.
- Create a composite image by blending multiple elements.
- Maintain a non-destructive workflow using layers and adjustment layers.
# Instructions
# Step 1: Select and Mask
- Choose a Subject: Select an image to serve as your primary subject. Remove its background using Photoshop's Quick Selection, Refine Edge, and Select & Mask tools.
- Select a New Background: Find a suitable background image from free stock photo sites like Unsplash (opens new window) or Pixabay (opens new window). Ensure the image is free of watermarks.
# Step 2: Create a Composite Image
- Combine Images: Integrate the masked subject with the new background into a single Photoshop document.
- Add Additional Elements: Incorporate at least two more images that complement the theme and enhance the visual narrative of your composition.
- Adjust Layers: Use layer adjustments to blend all elements seamlessly, focusing on matching color balance, lighting, and tone.
# Step 3: Exporting Your Work
- Final Touches: Review your composition for any final adjustments.
- Save Your Image: Export the completed image using Photoshop's 'Export As...' dialog. Save the image in a designated 'Exports' folder as a PNG at 1000px wide.
# Examples and Resources
# Masking Example

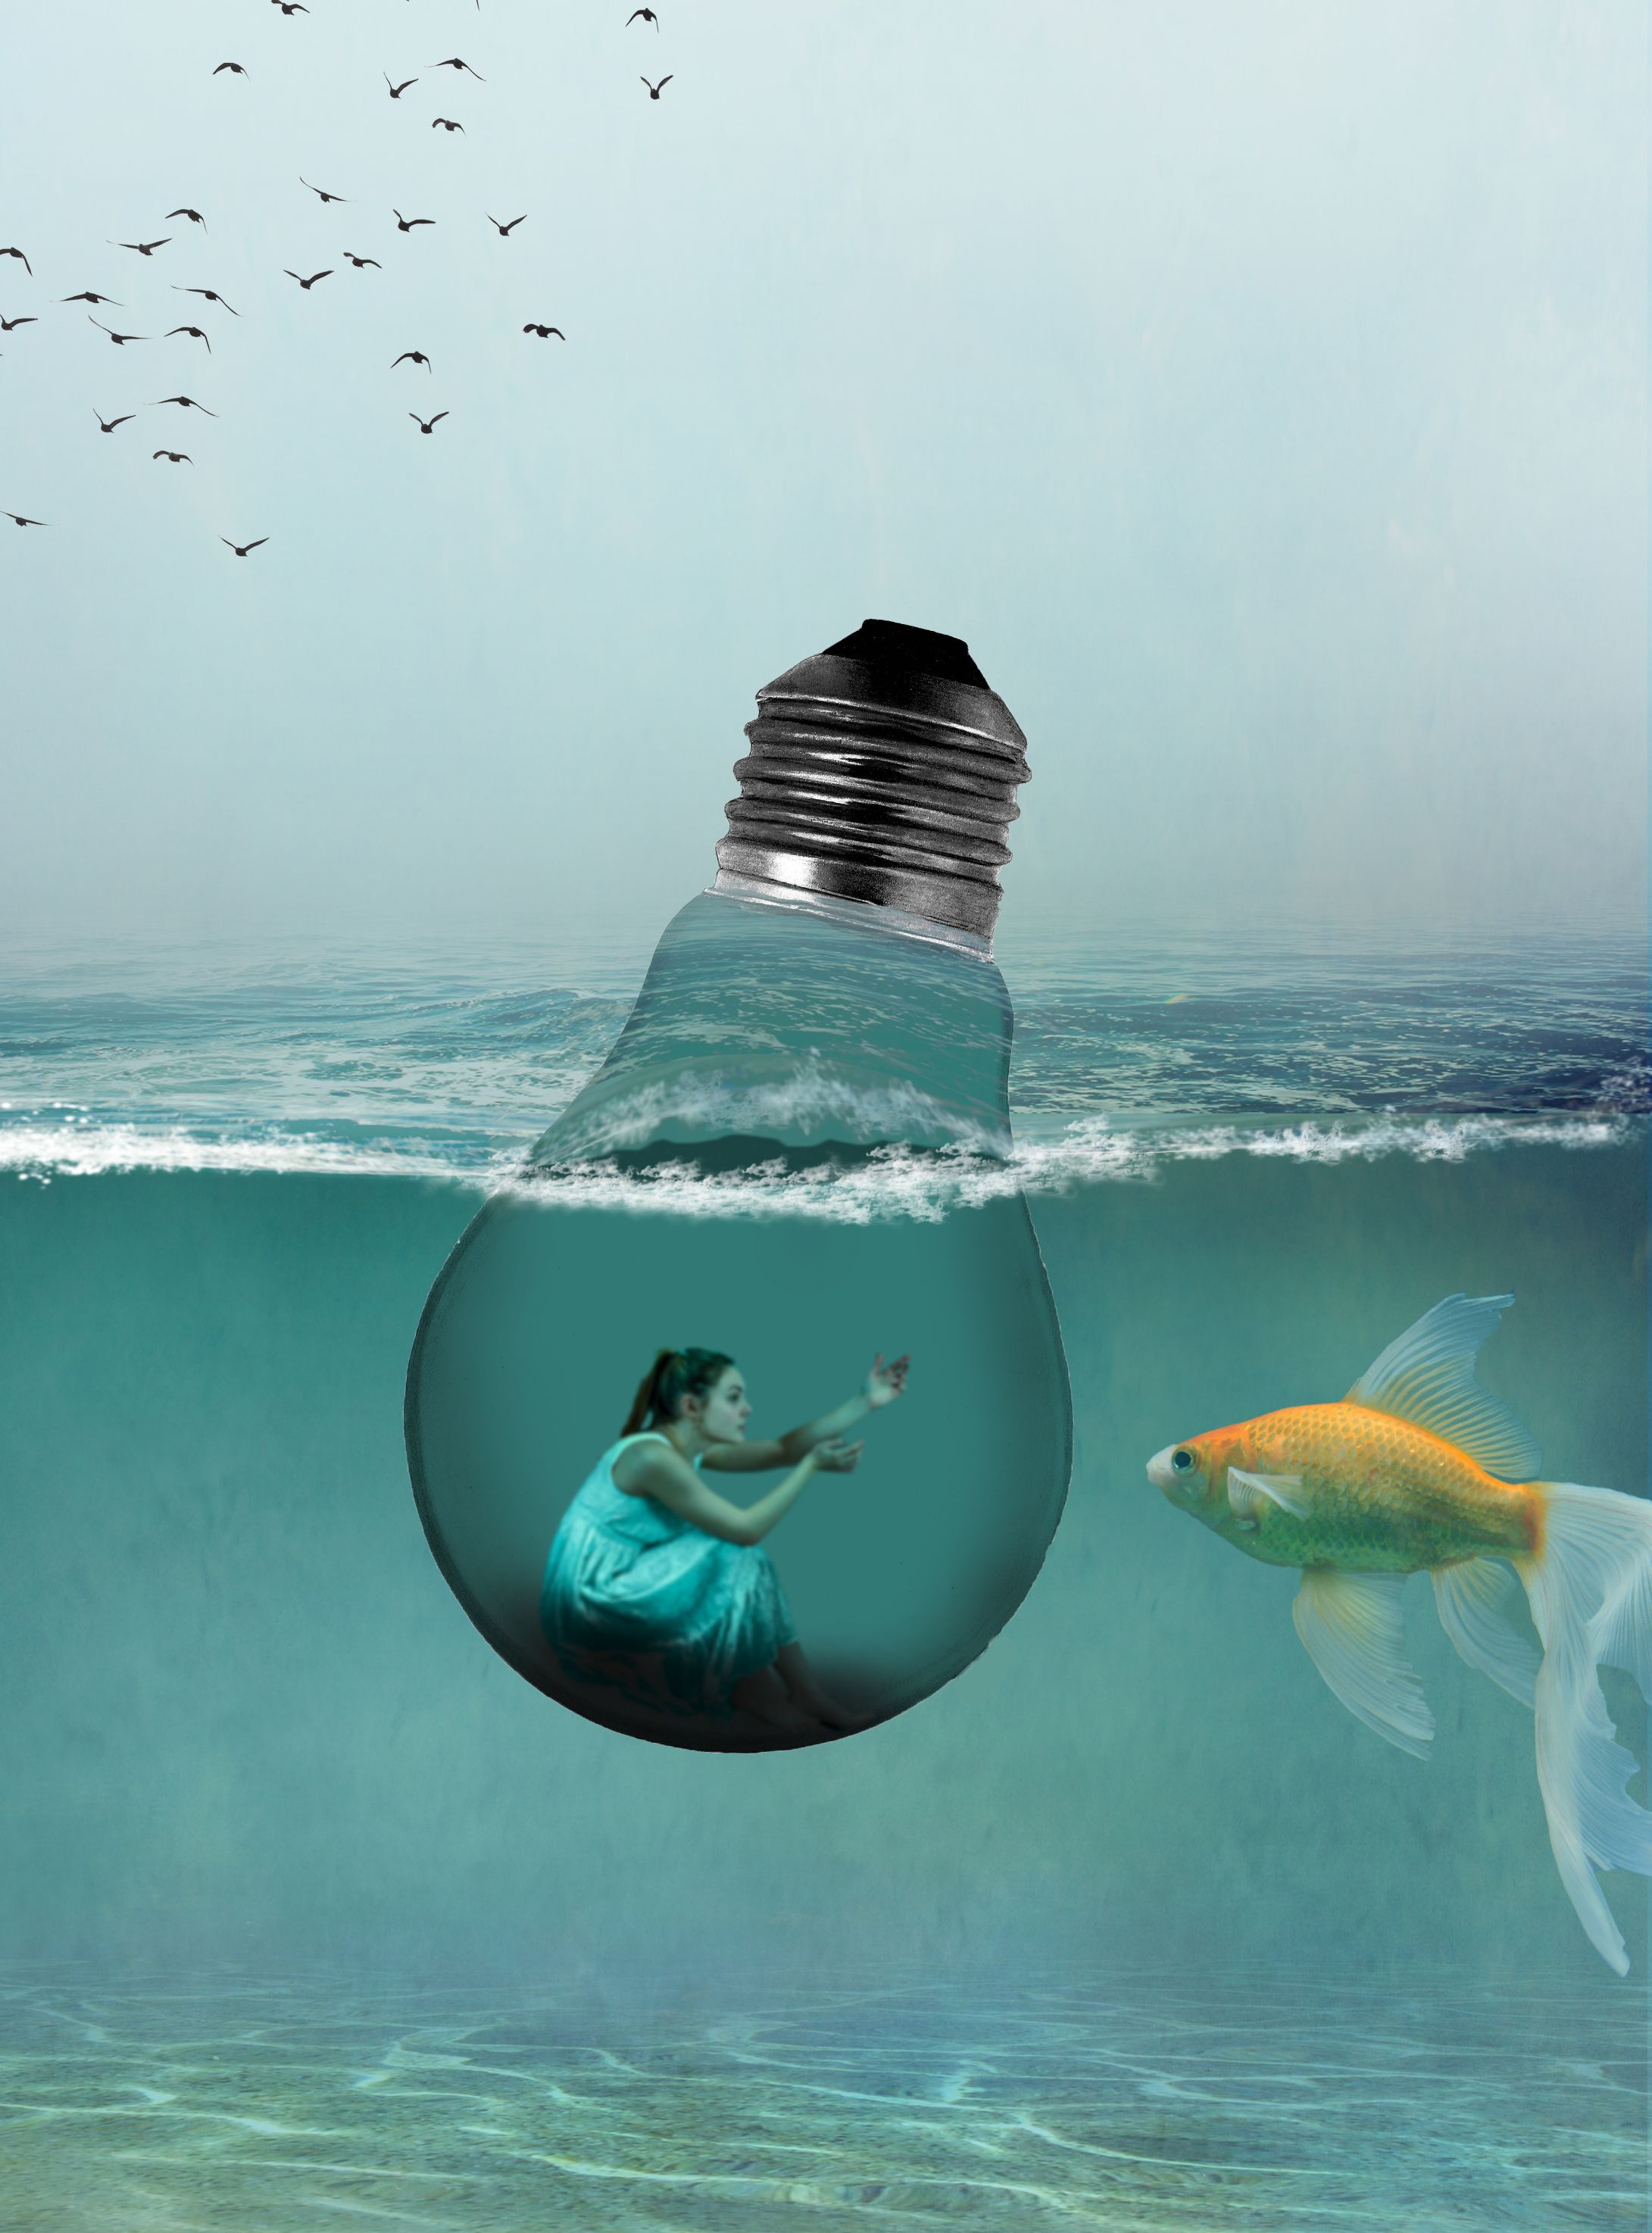
# Composition Example
# Tutorials
- Quick Selection Tool Tutorial (opens new window)
- Refine Edge Tutorial (opens new window)
- Select & Mask Tutorial (opens new window)
# Troubleshooting
- Rough Edges: Use the Refine Edge tool to smooth out rough selection edges.
- Mismatched Background: Adjust color balance and lighting to better integrate the subject with the new background.
# File Setup and Submission
Compress and submit your lName-fName-section#-select-and-mask folder containing:
lName-fName-section#-select-and-mask.psd(Photoshop file with organized layers).- 'Originals' folder with original images used.
- 'Exports' folder with the final image:
lName-fName-section#-select-and-mask.png- Exported as a PNG at 1000px wide.
# Checklist
- [ ] Choose a primary subject image for masking.
- [ ] Remove the original background, keeping the workflow non-destructive.
- [ ] Replace the background with a new image.
- [ ] Select and incorporate at least two additional images that enhance the theme of your composition.
- [ ] Add adjust layers for color balance, lighting, and overall tone to ensure a natural blend.
- [ ] Export the composition as a PNG file at 1000px wide using Photoshop's 'Export As...' dialog.
Submission
- [ ] Organize the Photoshop file and all resources in a folder named
lName-fName-section#-select-and-mask. - [ ] Include a 'Originals' folder with the original images.
- [ ] Ensure the 'Exports' folder contains the final PNG image.
- [ ] Compress the entire folder.
- [ ] Upload the compressed folder to the designated assignment page on Brightspace LMS by the due date.
Submission
Refer to Brightspace for your section's due date.
- Open BS LMS and go to the Activities > Assignments page.
- Go to Exercise 1 — Image Composition
- Upload your compressed folder on the assignment page in BS LMS and click the submit button.